Saving a Data Export to Disk
After selecting a report (see Selecting a Report) and then selecting the Destination tab, select the Disk tab to save the exported data file to disk.
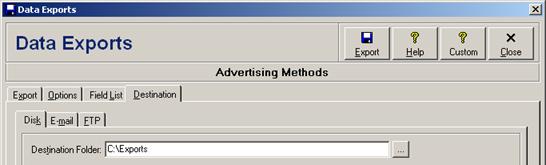
Enter the folder where the exported data file is to be saved, or click the … button to navigate and select a folder. On a network, the folder name will automatically be formatted using the universal naming convention (i.e. \\servername\pathname). If the destination folder is left empty then the current default Windows path will be used.
Click the Export button to export the data file and save it to the specified folder, or click the Close button to close the data exports window without exporting.
 E-mailing a Data Export