Browsing Warranty Plans
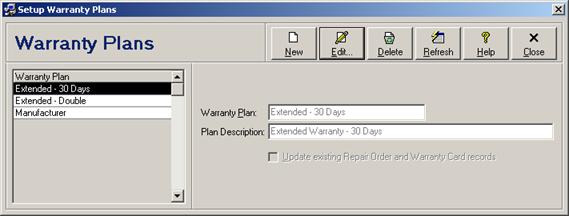
Adding a New Warranty Plan
To add a new warranty plan, click the New button. Enter warranty plan data and click the Save button to save changes (see Editing Warranty Plans for individual field descriptions). Click the Close/Cancel button or press the Esc key to quit without saving changes.
Editing a Warranty Plan
To edit a warranty plan, select the warranty plan in the browse (left side) and then either click the Edit button, press the Enter key, or double-click the warranty plan in the browse. Enter warranty plan data and click the Save button to save changes (see Editing Warranty Plans for individual field descriptions). Click the Close/Cancel button or press the Esc key to quit without saving changes.
Deleting a Warranty Plan
To delete a warranty plan, select the warranty plan in the browse (left side) and then click the Delete button. Depending on the general defaults, you may be prompted to confirm the deletion request before proceeding (see module option “Display a Confirmation Prompt Before Deleting” under General Module Options).
Refreshing the Browse
In a multi-user environment, changes made by other users may not be immediately visible in the browse window. Click the Refresh button to refresh the record set with the most recent data changes.
 Editing Warranty Plans