Setup Generate Repair Status Web Site
While processing is stopped, select Setup  Repair Status Setup Generate Repair Status Web Site
from the main menu to open the generate repair status web site setup area.
Enter repair status web site settings and click the Save button to save
changes. Click the Close/Cancel button or press the Esc key to
quit without saving changes. Each form section and entry field is discussed in
the following sections.
Repair Status Setup Generate Repair Status Web Site
from the main menu to open the generate repair status web site setup area.
Enter repair status web site settings and click the Save button to save
changes. Click the Close/Cancel button or press the Esc key to
quit without saving changes. Each form section and entry field is discussed in
the following sections.
In addition to this setup module, the proxy server and FTP server communication settings must also be configured (see Communication Options - Proxy Tab, and Communication Options - FTP Tab).
Setup Generate Repair Status Web Site - General Tab
The General tab is for entry of the basic web site configuration.
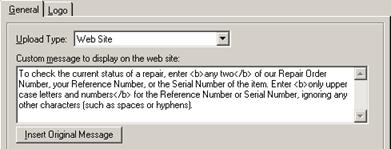
Setup Generate Repair Status Web Site - General Tab Entry Fields
|
Field |
Description |
|
Upload Type |
Select whether to enable generating of the repair status web site by selecting Web Site, or select whether to disable generating of the web site by selecting None (the system default). Optionally, select Comma-Delimited Text File or Tab-Delimited Text File to upload repair status data as a standard text file, instead of as a web site. The uploaded data file may then be used by businesses that prefer to custom-design their own repair status web site. Uploading to a text file is available only for licensed users of version 2.5 and higher. |
|
Message to display on the web site |
Enter a custom message that is to be displayed on the repair status web site in place of the standard web site instruction message. Since the message will be displayed via a web browser, the message may include standard HTML formatting tags. Click the Insert Standard Message button to overwrite any existing message with the standard web site instruction message. This field is available only for licensed users of version 2.5 and higher. |
Setup Generate Repair Status Web Site - Logo Tab
The Logo tab is for selection of the graphical business logo to display on the web site. This tab is available only for licensed users of version 2.5 and higher.
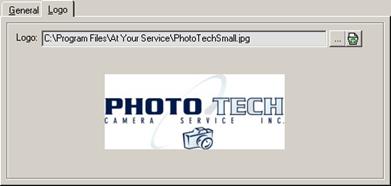
Click the … button to browse for a .JPG picture file. The picture file should be the same size as it is to be displayed on the web site.
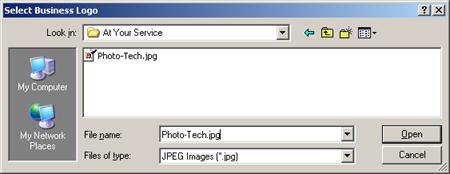
Navigate to the folder where the picture file you want to open is located and either double-click on the file name, single-click on the file name and then click the Open button, or type the file name in the File name field and then click the Open button. The picture file will be scaled and displayed. Click the Cancel button or press the Esc key to cancel without opening a picture file.
Click the  button to clear the selected graphical
business logo.
button to clear the selected graphical
business logo.
 Processing Generate Repair Status Web
Site
Processing Generate Repair Status Web
Site